Key Takeaways
- Examining your site and preparing a solid foundation is essential for building a durable stone wall.
- Choosing the right stones and collecting the necessary tools can simplify the construction process.
- Building up the wall in layers, while ensuring stability and straightness, is key to a strong structure.
- Incorporating landscape elements like plants or lighting can enhance the beauty of your stone wall.
- Working with hardscape contractors ensures a professionally built wall that lasts for years.
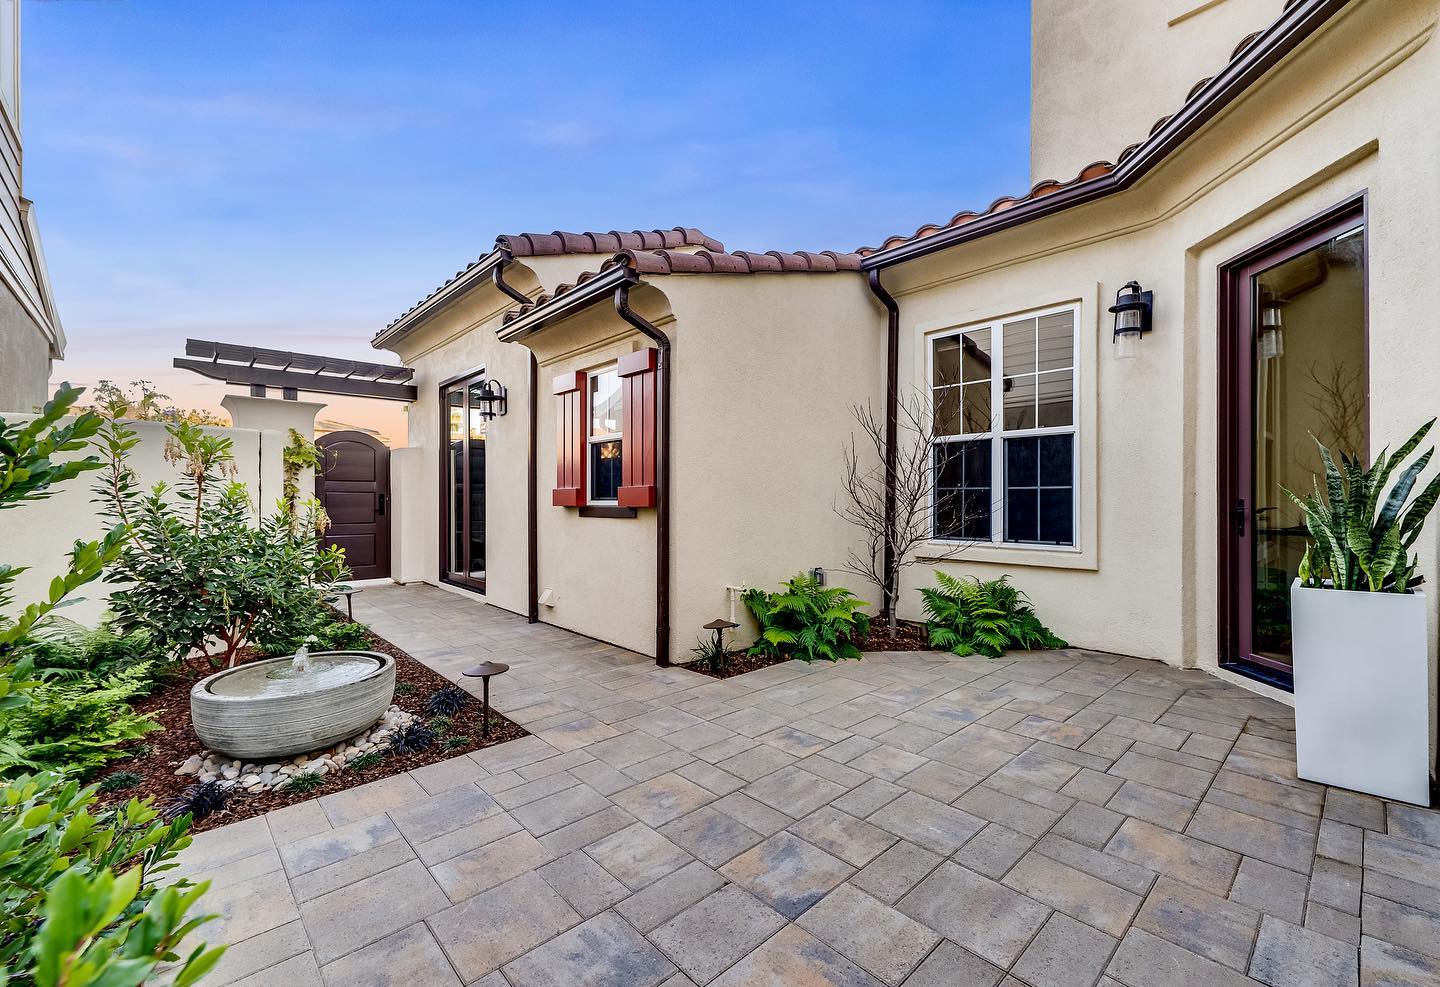
Stone walls are a timeless addition to any garden or backyard patio. They can provide both functionality and beauty, offering structure, privacy, and a rustic charm that blends well with outdoor spaces.
Whether you're looking to build a retaining wall for support or a decorative wall to enhance your landscape, stone walls can transform your yard into a more inviting and aesthetically pleasing area.
Building a stone wall requires patience, planning, and the right materials. While it might seem like a challenging project, following the basic steps can make the process easier.
Basics of Building Stone Walls
Examine Your Site
Before you start building, it’s essential to carefully examine the site where you plan to place your stone wall. Understanding the layout and conditions will help you create a more stable structure and a strong wall.
- Check the slope: If the land is sloped, you’ll need to account for this when building the foundation.
- Consider drainage: Ensure water will flow away from the wall to avoid erosion or water damage.
- Measure accurately: Take careful measurements of the area to determine how much stone and other materials you’ll need.
Collect the Needed Tools and Equipment
Having the right tools is crucial to building a successful dry stone walling. It’s important to gather everything before you start, so you don’t waste time searching for tools during the project.
- Basic tools: You’ll need a shovelA shovel is a versatile hand tool used in landscaping and construction for digging, lifting, and mov..., levelA level is a tool used to determine whether a surface is horizontal (level) or vertical (plumb). It ..., tape measure, and mason’s line to ensure the wall is straight.
- Cutting tools: A stone saw or chisel is useful for shaping stones to fit properly in the wall.
- Protective gear: Safety gloves, goggles, and a sturdy pair of boots will protect you while working with heavy materials.
Get the Necessary Permits Beforehand
In many places, building structures like fences and walls may require permits. It’s important to check with local authorities to ensure you’re following the law.
- Research local codes: Every area has different rules, so find out if a permit is required.
- Submit paperwork early: Permit approval can take time, so apply before starting your project.
- Follow guidelines: Make sure the height, location, and purpose of your wall comply with local regulations.
Choose the Right Types of Stone
Selecting the right type of stone is critical for both the durability and appearance of your wall. The stones you choose should match the style and function of the wall.
- Natural stone vs. manufactured stone: Decide whether you want the rugged look of natural stone or the uniformity of manufactured stone.
- Size and shape: Choose the stones that are appropriate for the size of your wall and are easy to work with.
- Durability: Make sure the stones are weather-resistant and sturdy enough to withstand environmental elements.
Prepare the Foundation
A strong foundation is key to the longevity and stability of your stone wall. Without a good base, the wall may settle or shift over time.
- Dig a trench: Dig a trench that’s about 6-12 inches deep and wide enough to accommodate the stones.
- Add a base layer: Fill the trench with gravelGravel consists of small, loose, rounded or angular stones, typically ranging in size from a few mil... or crushed stoneCrushed stone is a form of aggregate composed of rocks that have been broken down into small, angula... to create a stable base.
- Compact the base: Use a tamperA tamper is a heavy, flat-bottomed tool used in landscaping to compact soil, gravel, or asphalt. It ... to compress the gravel, ensuring it’s firm and level before laying the first course of stones.
Lay the First Course
The first layer of stones is the most important, as it sets the foundation for the rest of the wall. Take your time and ensure this course is straight and stable.
- Use large stones: Start with large flat stones to provide a solid base.
- Check for level: Use a level to make sure each stone is placed evenly.
- Fit tightly together: Place the stones as close together as possible to minimize gaps and create a strong base.
Build Up the Wall
Once the first course is laid, you can begin building the wall up layer by layer. Make sure to stagger the joints to increase stability.
- Lay stones in rows: Build up each row by alternating the size and shape of the stones to create a balanced structure.
- Fill gaps: Use smaller stones or gravel to fill any gaps between the larger stones.
- Check for straightness: Use a mason’s line and level to make sure the wall remains straight as you build it up.
Cut and Shape the Stones
As you build, you’ll need to cut and shape stones to fit into specific spots. This step helps to create a smooth, stable wall with fewer gaps.
- Use a stone saw: A stone saw is the best tool for cutting larger stones.
- Chisel edges: For smaller adjustments, a chisel can be used to shape the stones.
- Smooth rough edges: If necessary, use a file or grinder to smooth any rough edges to ensure a snug fit.
Add Structural Support
Depending on the height and purpose of your wall, you may need to add extra structural support. This ensures the wall will stand strong over time.
- Incorporate rebar: For taller walls or retaining wallsRetaining walls are structures designed to hold back soil and prevent erosion in landscapes with var..., insert rebar into the foundation to reinforce the structure.
- Tie-back stones: Use tie-backs to anchor large stones into the earth for added stability.
- Consider drainage: If building a retaining wall, ensure there’s proper drainage behind the wall to prevent water buildup.
Add the Finishing Touches
Once your wall is built, adding finishing touches can enhance its appearance and durability. This final step will give your wall a polished look.
- Top the wall: Add a capstone layer to the top of the wall for a finished appearance.
- Seal the stones: Apply a sealant to protect the stones from weathering.
- Clean the surface: Wash off any dirt or mortarMortar is a mixture of cement, sand, and water, used as a bonding agent in masonry construction. It ... to reveal the beauty of the stones.
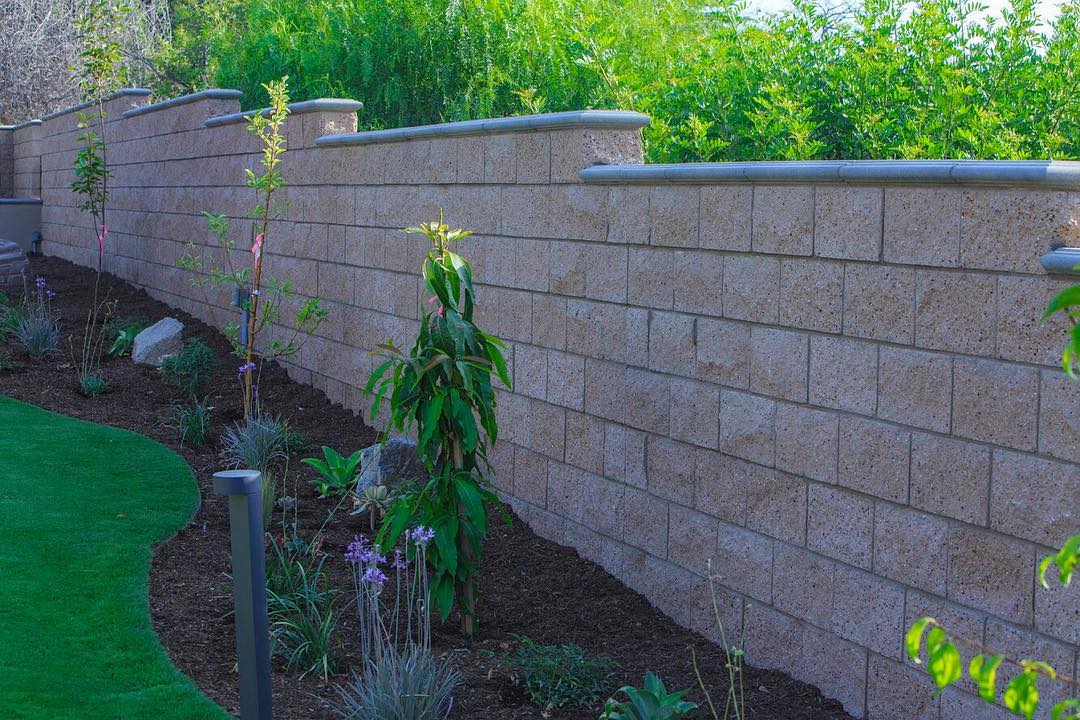
Add the Landscape Elements
A dry stone wall can be an integral part of your overall landscape design. Incorporating landscape elements around the wall can enhance the beauty of your yard.
- Plant flowers or shrubs: Add plants along the base of the wall to soften the appearance and add color.
- Install lighting: Adding outdoor lighting can highlight the texture and structure of the wall at night.
- Incorporate water featuresWater features, such as ponds, fountains, and waterfalls, are popular additions to residential and c...: For a more dramatic effect, consider adding a fountain or small waterfall near the stone wall.
Work with Professional Hardscape Contractors to Build Your Patio’s Stone Wall
Building a stone wall requires a combination of skill, patience, and the right materials. At West Hills Masonry, we specialize in creating stunning outdoor spaces with beautifully designed fences and walls.
Our experienced hardscape contractors know how to build stone walls that not only serve a functional purpose but also add beauty and character to your outdoor living space - patio or garden. Contact us for custom solutions.

 Carlos Gonzales